I have a penchant for old wooden bowls. I search for them everywhere; estate sales, junk yards, garage sales… I even found one in the trash a few months ago! Why, you might ask… look how horrid they look, all dirty and moldy and grimy. Yuck, you would say if you were my husband.
Just wait, I would reply… let me work my magic and you’ll see!
Here is my cleanup and restoration method… Look at this old wooden bowl I found at a garage sale over the weekend. It is filthy and stained. It has moldy patches on it. It is discolored.
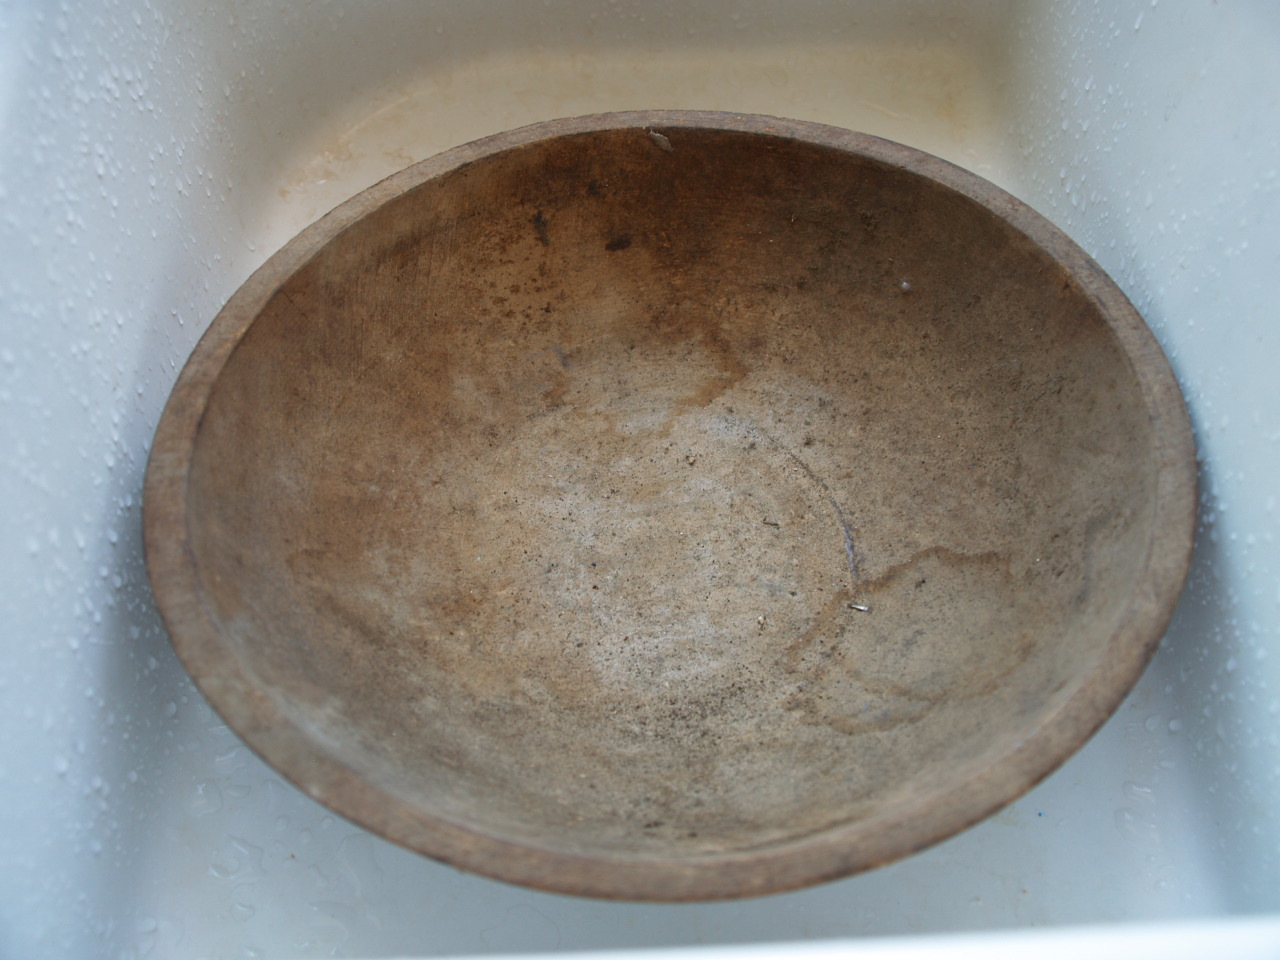
See the grime and the water stains…

First, I am going to show you how I clean it up and then I’ll show you how to make a polish to restore it’s splendor and make it shine. I use my bowls for displaying my collections of acorns and stones and such. I don’t use them for food. If I did, I’d use an olive oil/beeswax polish instead.
For cleaning, you’ll need boiling water and bicarb of soda (the stuff you put in your fridge to keep it smelling nice)
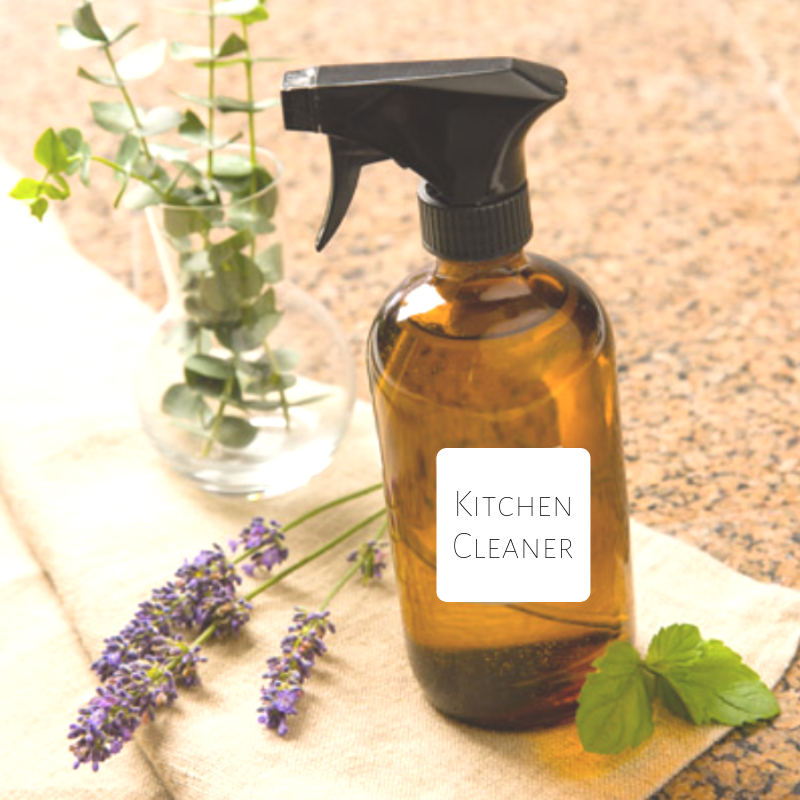
What you’ll need for the polish is odorless turpentine, beeswax and your favorite essential oil… mine is lavender.

To clean the bowl, I soak it in warm water for a few minutes. Then I scrub it with dish detergent and a scrubbing brush (here’s a use for that no-longer-needed bottle brush)
I scrub it hard. Then I rinse it and fill it with boiling water, letting it stand for a few minutes.

I pour out the boiling water and put a handful of bicarbonate of soda into the bowl. I add a few drops of water until it forms a paste and then I scrub it again, using my hands. You will be so surprised at what comes off… it is all the old grime and residue. The bicarb scours wonderfully gently. The paste turns brown. I feel soooooo satisfied.
 When I feel that it has been scoured clean, I rinse off the bicarb paste thoroughly and scrub it again quickly with dish detergent. Then I put it out in the sun to dry.
Look at the beautiful whiteness it dries to. Ohhhhh it is so clean and lovely. I adore this vintage look and often leave it just like this.

But sometimes, it needs to have a little more TLC. This is how I make my polish..
I couldn’t find my measuring cup anywhere (Kids! *big dramatic sigh*) so I improvised with an old yogurt container (4 oz).
1 cup of odorless Turpentine (2 yogurt containers)
1/2 cups of melted beeswax (1 yogurt container)
a few drops of essential oil (optional)

Make a bain-marie on your stove to melt the beeswax (if you want instruction on how to safely melt beeswax, take a look at the other posts I’ve done on working with beeswax)
While it is melting, sit your turpentine in a bowl of warm water… you want it to be warm when you add your hot melted beeswax. When wax is melted, add it to the warm turpentine and stir thoroughly. When it has cooled a little, add your essential oil and stir again.

As the mixture cools, it emulsifies into a wonderfully thick polish.

Use a lint free rag to rub the polish into the bowl evenly. I apply a few coats and Voila! A beautifully stained and polished wooden bowl. I love knowing that it has had a myraid of lives before this on, that it has been loved, tossed aside, forgotten, discarded, found, restored and then loved again. Phew… how romantic!

Look at the beautiful grain marking that appeared.

Isn’t it amazing how you can turn a grotty old thing into a beauty.
Blessings and magic,
Donni


21 Responses
I love the look of fresh wood. Each grain marking is so unique, pure and simply beautiful.
I am working on a set of bowls myself, though these are for food. I’ve read that a linseed oil/beeswax polish is nice, and that walnut oil can be used since it doesn’t go rancid. Do you have any food-safe polish ideas? (I found my wooden bowls at the thrift store for 69cents each.)
simply lovely Donni! thanks for sharing your technique! If you ever find any extra bowls in your travels I would be happy to house them for you!
yes! i so needed this!
What a beautiful restoration! I have to admit that the first time I went through this I didn’t read it. I just had to know how you used yogurt to clean your bowl….
This is so helpful! Thank you! Wooden bowls are so nice.
Wow, i loved the way the bowl turned out and i have a few old bowls lying around the place (i put my keys in one, and my son plays house with some. I’m definately going to try your method, can’t wait to see them looking all pretty :) I’ve been following your blog for a couple of weeks and love it. You have so many great ideas its inspirational :)
cheers from Australia
Kaia
I collect wooden bowls everywhere I go too!!! If you find ones that are REALLY scummy where the grot has soaked in, a light sand and wash works a treat too!
Happy bowl hunting.
xB
It sure looks lovely, cheers Marie
Grotty? ha Ha…never heard that before. :)
I nominated you for an award FYI.
Much love xo
Nice One! I am rethinking my disdain for the shabby wooden bowls. Thanks
Oh thank you. Someone just asked me today about lavender beeswax polish – thought it sounded wonderful but couldn’t think where to get it…now i don’t have to think very hard at all!
Such beautifully restored wooden bowls.
Your blog is a treasure box full of treasures, beautiful, inspiring and practical, thank you
This comment has been removed by the author.
wow! That looks awesome! And you get to feel good for rescuing instead of it going to the dump.
Wonderful! And thanks for the great recipe : )
When cleaning out my mother-in-law’s home after her death, we discovered her old wooden bowl inside the flour pail (where she always kept it) and it was black and rancid. I have followed your directions and although it smells better, and some of the black stain has gone, there is still some remaining. Any suggestions for completely restoring?
Hey, just wanted to say double check all of your bowls for cracks before leaving them to sit a few minutes with boiling water. Sadly one of my bowls cracked during this step. Thankfully the crack isn’t very deep but I am still pretty bummed. By the way Abbie (top comment) I read that you can use mineral oil with beeswax just like the the recipe above.
It’s like a miracle! My wood salad bowl was so oily and gooky just touching it made my hands sticky. Nothing I read about and tried over the past couple of years helped, not even a little bit and I was about to dump it when I decided to give it one more try, and I found you. I read this and in less than an hour, I have my bowl back. It was that easy. Thank you. Thank you.
Yay! I’m so happy you have your bowl back. Thanks for letting me know this method worked for you too :)
xo Donni
Looks great. When I saw the picture of the yogurt container, at first I thought yogurt was going to be the magic ingredient . hahaha.
Ha ha… you never know… we’ll try adding yogurt next time :)
xo Donni